Quick Start
Launching NetIP
First, start NetIP. You can call it from:
- Desktop Shortcut (if you created one during install)
- Windows Start Menu
NetIP.exeif you installed the portable version
First launch
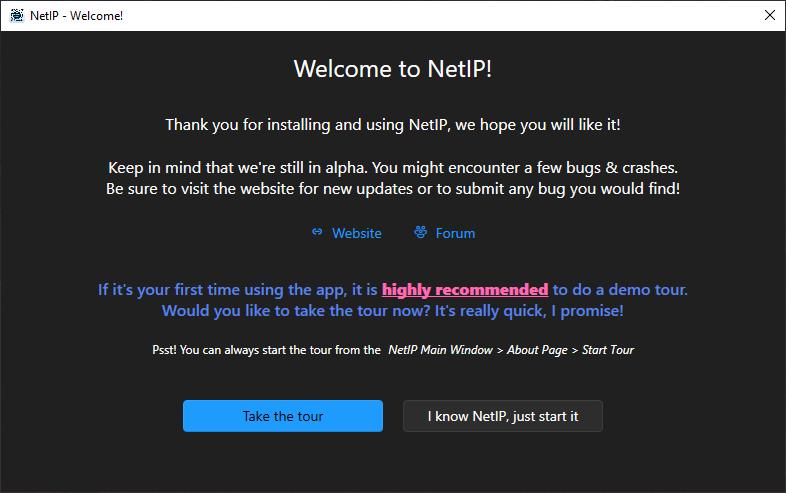
If this is your very first launch of NetIP, you will be greeted by the Welcome Popup:

Demo Tour
If this is your first time using NetIP, as the popup suggests it is highly recommended to do the demo tour to understand how it works.
If required, the Demo Tour is always available from the NetIP Main Window > About Page > Start the demo tour.
Normal launch
If this is not the first time you launch NetIP, it is running in the background as normal. The same goes if you enable Start with Windows in the settings.
Using NetIP
Taskbar Icon
The NetIP icon is located in your Windows taskbar.
At the first launch after install, the NetIP icon may be hidden under the collapsed menu. You can drag it over your taskbar if you wish to access it frequently.
![]()
Network Popup Usage
To access the Network Popup, either middle-mouse click on the NetIP icon, or Right Click > Open.
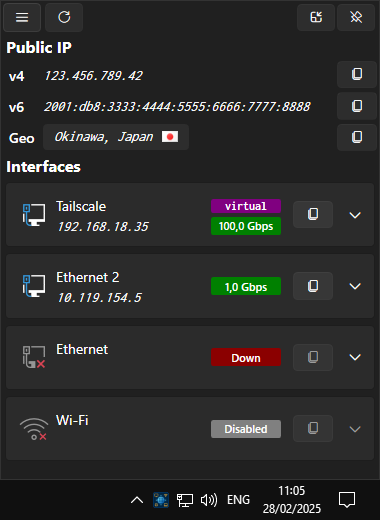
The Network Popup will automatically populate itself with your current network information.

From there, you can get the network information you need and close the popup when you're done.
Interface management
You can toggle on/off any network interface from the popup by doing a right-click on any interface in the list. Note that if the interface is currently connected and/or virtual, NetIP will display a warning confirmation dialog to prevent you from network trouble.